Compile and Run C++, the Hard Way
Most classes here in SJTU that feature an introduction to C++ always encourage students to download Dev-C++ or Code::Blocks, so that students can get started with programming easily. I’m taking an alternative approach here, showing you how to get your C++ code running with a basic set of tools, to give you with a better understanding of the process hidden behind Code::Blocks.
To understand this tutorial, you should have written your first C++ program, most likely the one that prints “Hello, World” on screen.
How to run your C++ program without Code::Blocks or the “Run” button? Turns out, you only need two things:
- Your C++ source code file e.g.
1.cpp - A compiler
A compiler transforms your C++ source code into something that can be executed by the computer (an executable). On Windows, an executable usually has the file extension exe. This means that a compiler transforms 1.cpp into 1.exe, and you can run 1.exe by double-clicking on it. That’s all you need to know about a compiler right now: 1.cpp comes in, and out the 1.exe.
Source Code
Let’s just put the problem of compiler aside and prepare the source code first. How to write C++ without Code::Blocks? I will be using my favorite text editor Notepad here:
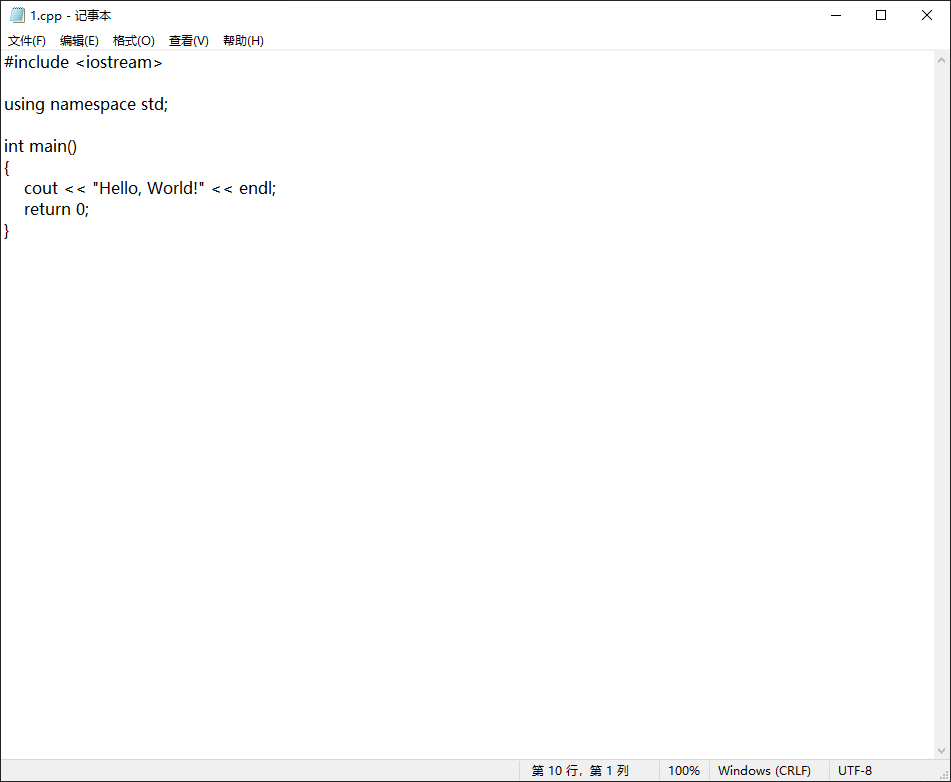
Save the file as 1.cpp in D: and we are done here.
Compiler
Here are the common compilers on different platforms:
- Windows: MingGW, Microsoft Visual C++
- macOS: GCC, LLVM
- Linux: GCC
Both Dev-C++ and Code::Blocks have MinGW under the hood, and we will be using MinGW in this tutorial. The latest version of MinGW has been uploaded to JBox. Just extract the archive and put the folder mingw64 to somewhere you can find later, such as D:.
Take a look at the files in the folder D:\mingw64\bin (or anywhere you’ve put the mingw64 folder). There are lots of executable files in the folder. Our compiler for C++ is the executable called g++.exe.
To actually use the compiler, we will add the path (D:\mingw64\bin) of the compiler to Path environment variable. You are strongly advised to just blindly follow the steps here for now. We will explain what is the Path environment variable, and why we must add the path to the environment variable at the end of the tutorial.
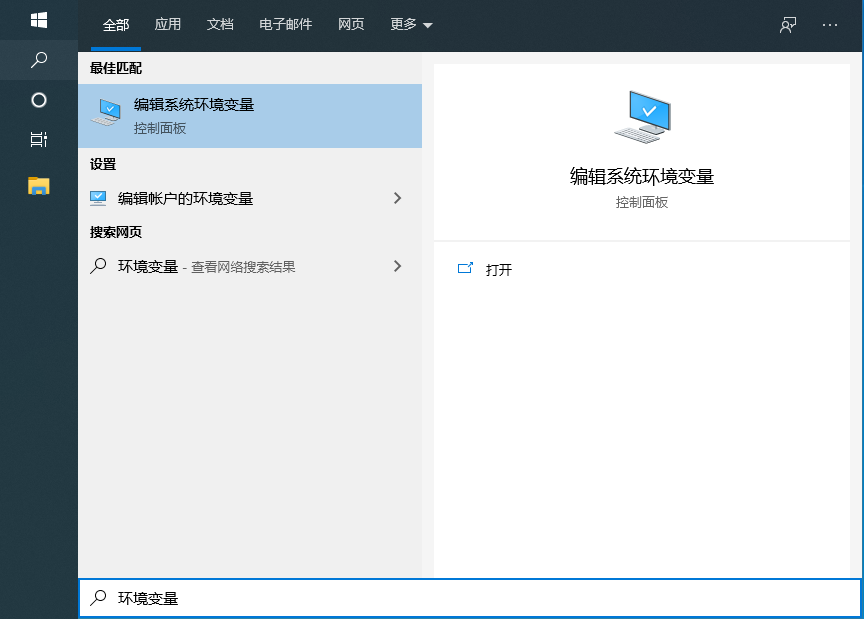
Search for “environ” or “环境变量” with the search button on the Task Bar and click on “编辑系统环境变量”.
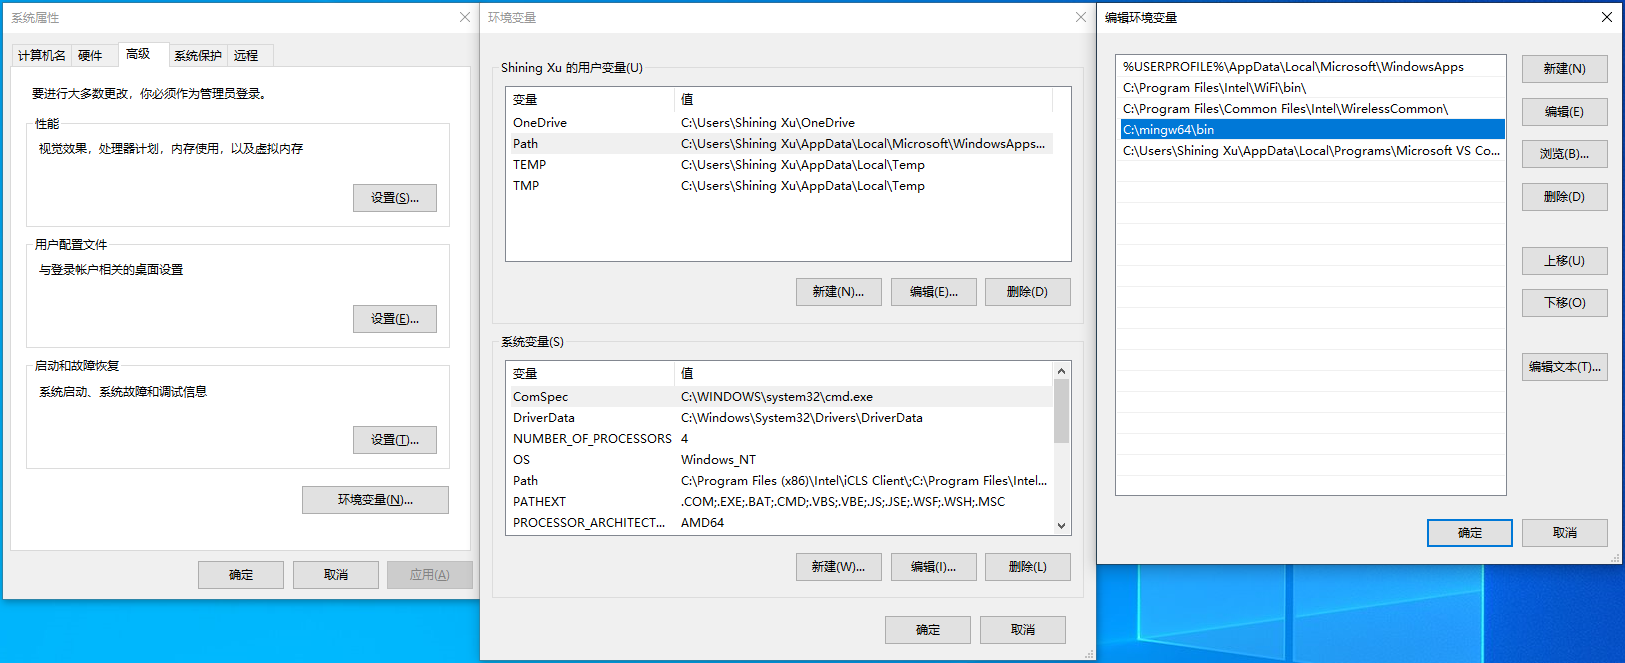
Click on the “环境变量” button again on the pop-up menu, which leads us again to a new window. See Path under “xxx 的用户变量”? That’s the one we’re gonna change. Double-clicking on it leads us to the final window. I hope that you know how to add a new entry D:\mingw64\bin instantly with the buttons on the window. The following figure shows all the windows we’ve opened to change a single environment variable, for you to see if you’ve clicked the right buttons and opened the right windows. The added entry is highlighted with blue in the rightmost window.
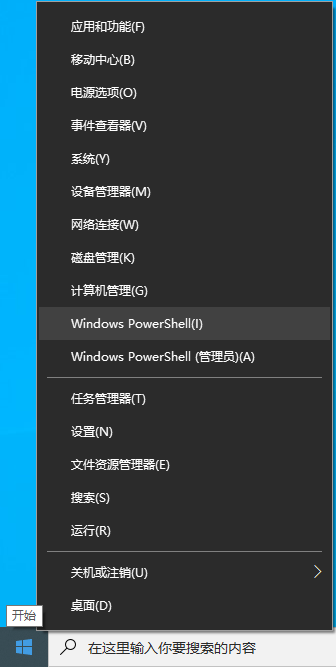
We’ve done all the preparation work and we’re ready to use the compiler. To use the compiler, right-click on the Windows button (the one you use to open the Start Menu) and select PowerShell.
For those unfamiliar with PowerShell, PowerShell is a so-called terminal, where the computer user interact with the computer using a text-only UI (instead of a GUI like File Explorer). The user type commands to do operations such as renaming and deleting files.
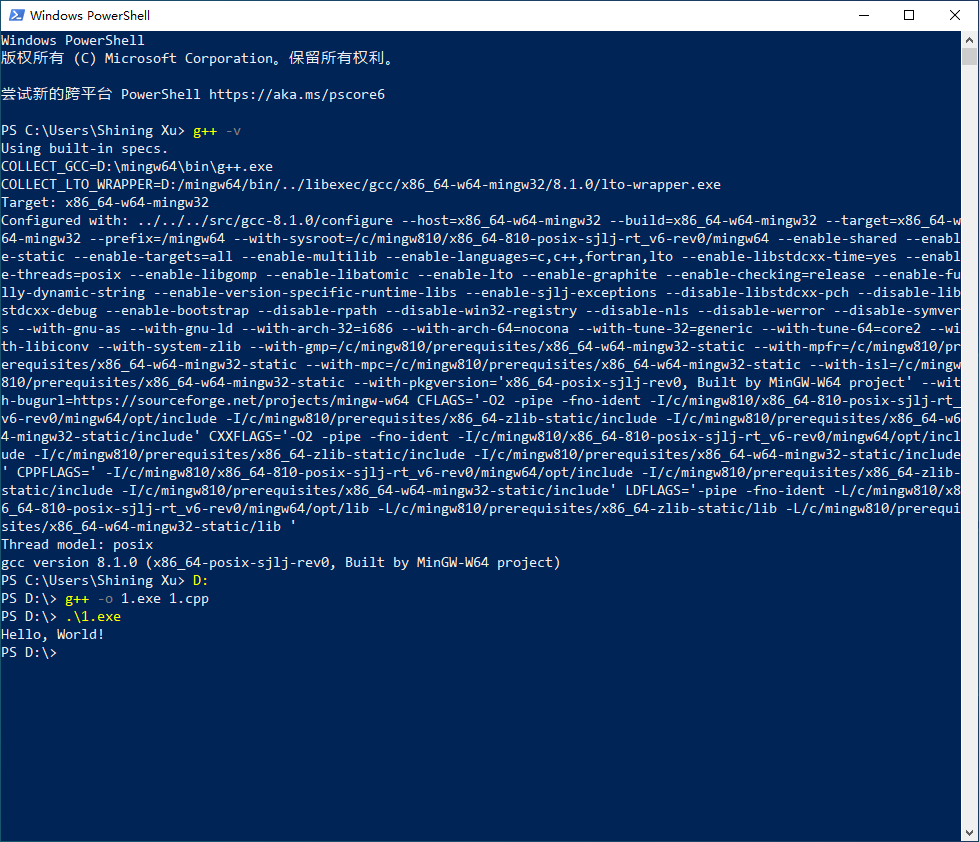
In PowerShell, let’s test our compiler. Type g++ -v and see what is the output. For me, it looks like
PS D:\Users\Shining Xu> g++ -v
Using built-in specs.
COLLECT_GCC=D:\mingw64\bin\g++.exe
COLLECT_LTO_WRAPPER=D:/mingw64/bin/../libexec/gcc/x86_64-w64-mingw32/8.1.0/lto-wrapper.exe
Target: x86_64-w64-mingw32
...
And much more. As long as it doesn’t say something like “error” or output red texts, you’re in luck: the compiler has been setup successfully!
It’s time to use our compiler (finally)! Type in PowerShell
D:
and then
g++ -o 1.exe 1.cpp
Finally
.\1.exe
You should see “Hello, World!” right in PowerShell. The following figure contains all steps in the PowerShell, so you can check if your output matches mine.
The last remaining question is, how does Code::Blocks save you from all of these steps (including setup and running the compiler)? The installer for Code::Blocks bundles MinGW and a text editor, completes the setup work during installation and runs the compiler when you hit the “Run” button.
Software like Dev-C++ and Code::Blocks is called IDE (Integrated Development Environment), which provides a near-complete environment for software development such as writing code and running programs. A common mistake for C++ newbies is to say,”I run my C++ program with Code::Blocks”. If you previously believe that you can’t write or run a C++ program without any IDE, you’ve made the same mistake here.
The Whats and Whys of Path
Do you try to type g++ -v in the PowerShell before adding the path D:\mingw64\bin to the environment variable? Now that you’ve know how to add the path, it’s high time to experiment: delete the path, save the settings, close and reopen PowerShell. Type g++ -v again. Do you see the errors?
And now, type D:\mingw64\bin\g++ -v (that is, specify the full location/path of the g++ executable). It works.
Finally, readd the path, save the settings, close and reopen PowerShell and type g++ -v. It works again.
Here lies the power of Path: If you look closely at all the contents of the Path variable (mine shown below),
%USERPROFILE%\AppData\Local\Microsoft\WindowsApps
C:\Program Files\Intel\WiFi\bin\
C:\Program Files\Common Files\Intel\WirelessCommon\
D:\mingw64\bin
these are simply a bunch of directories, which contain lots of executables. Together, they constitute the search path for PowerShell. Whenever you type and execute something like g++ in PowerShell, PowerShell has no idea which g++ executable you are referring to, so it searches in all the paths above to find one.
To learn more about environment variables, you may take a look at this question.
Now you may be wondering, “I took the hassle of adding D:\mingw64\bin, only to save me from typing g++ -v instead of D:\mingw64\bin\g++ -v?” For the adventurous, delete D:\mingw64\bin in Path and double-click on 1.exe (rather than run in PowerShell):
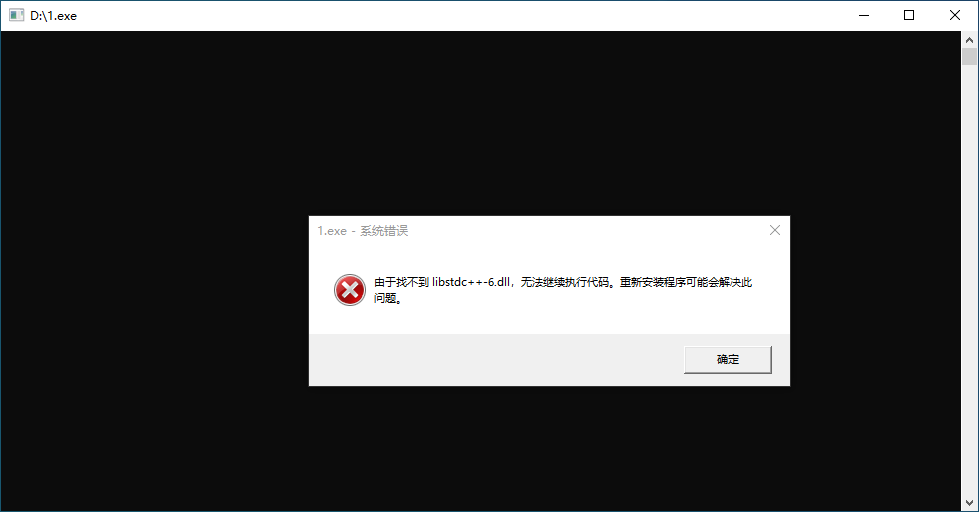
and that, is another story, which I advise you to discover for yourself.